Although it can feel a little intimidating when maintaining the proper balance in your pool, rest assured, you don’t need a science degree to get that crystal-clear water. The right chemistry helps each substance in your pool last longer, preserves your pool’s structure, and creates a more enjoyable swimming experience. To help you get started, here are the basic steps to balance the water chemistry of your oasis.
What is Pool Water Chemistry Balancing?
Water chemistry balancing is the practice of harmonizing various chemical factors within your pool to ensure it remains a safe and inviting oasis. It’s not just about achieving clear water; it’s about safeguarding the well-being of those who swim in it.
At its core, this process involves adjusting parameters like pH levels, chlorine concentration, alkalinity, and calcium hardness. Each of these factors plays a unique role in maintaining water quality.
The Importance of Water Balancing
First, let’s clarify why balancing your pool’s water chemistry is so important. Keeping factors like the pH, total alkalinity levels, and calcium hardness in check will prevent damage to your pool and allow you to maintain safe, clean, and comfortable water for swimming.
Balancing each of these prevents several issues with your pool, including corrosion of the equipment and surfaces, formation of algae, scale, stains, and cloudy or discoloured water. Unbalanced levels can also lead to irritation of the skin and eyes after swimming.
How Often Should I Test the Water?
If the chemicals aren’t yet balanced, it’s important to check the pool water every day until you achieve the proper levels. Adjust accordingly if necessary. If the water is balanced, the pool water should be monitored using a test kit every week during the summer months. This frequency ensures you catch any imbalances early, preventing minor issues from snowballing into bigger ones. Additionally, it helps you fine-tune your chemical adjustments with precision.
However, keep in mind that testing isn’t limited to weekly routines. Depending on certain circumstances, you may require further testing, such as after heavy rain, pool parties, or any significant influx of swimmers. These events can disturb your pool’s equilibrium, and timely testing allows you to restore it quickly.
What Happens When Pool Water Is Out of Balance?
The signs of unbalanced pool water are easy to miss at first. A lingering chlorine smell, stinging eyes after a swim, or chalky buildup along the tile are all worth paying attention to before they turn into bigger problems.
Each parameter in your pool chemistry pulls on the others.
- pH that runs too high pushes chlorine into an inactive form, so you end up spending money on sanitizer that isn’t actually doing much.
- Drop the pH too low and you’ve got a different problem: corrosive water that works against you quietly. Grout softens, metal fittings pit, and swimmers notice it on their skin and in their eyes before you notice it on your equipment.
- Living in the Ottawa area adds another layer. The climate doesn’t give pool chemistry much time to settle. A rainy stretch in May, a scorcher in July, a weekend with twenty people in the pool: any of these can move your numbers more than a week of calm weather would.
- City water isn’t neutral either; depending on what’s coming through the mains, topping up the pool can quietly push calcium hardness in the wrong direction.
The only real fix is testing often enough to catch drift in the pH balance for swimming pools before it becomes a problem, not after.
The Correct Order to Balance Pool Water
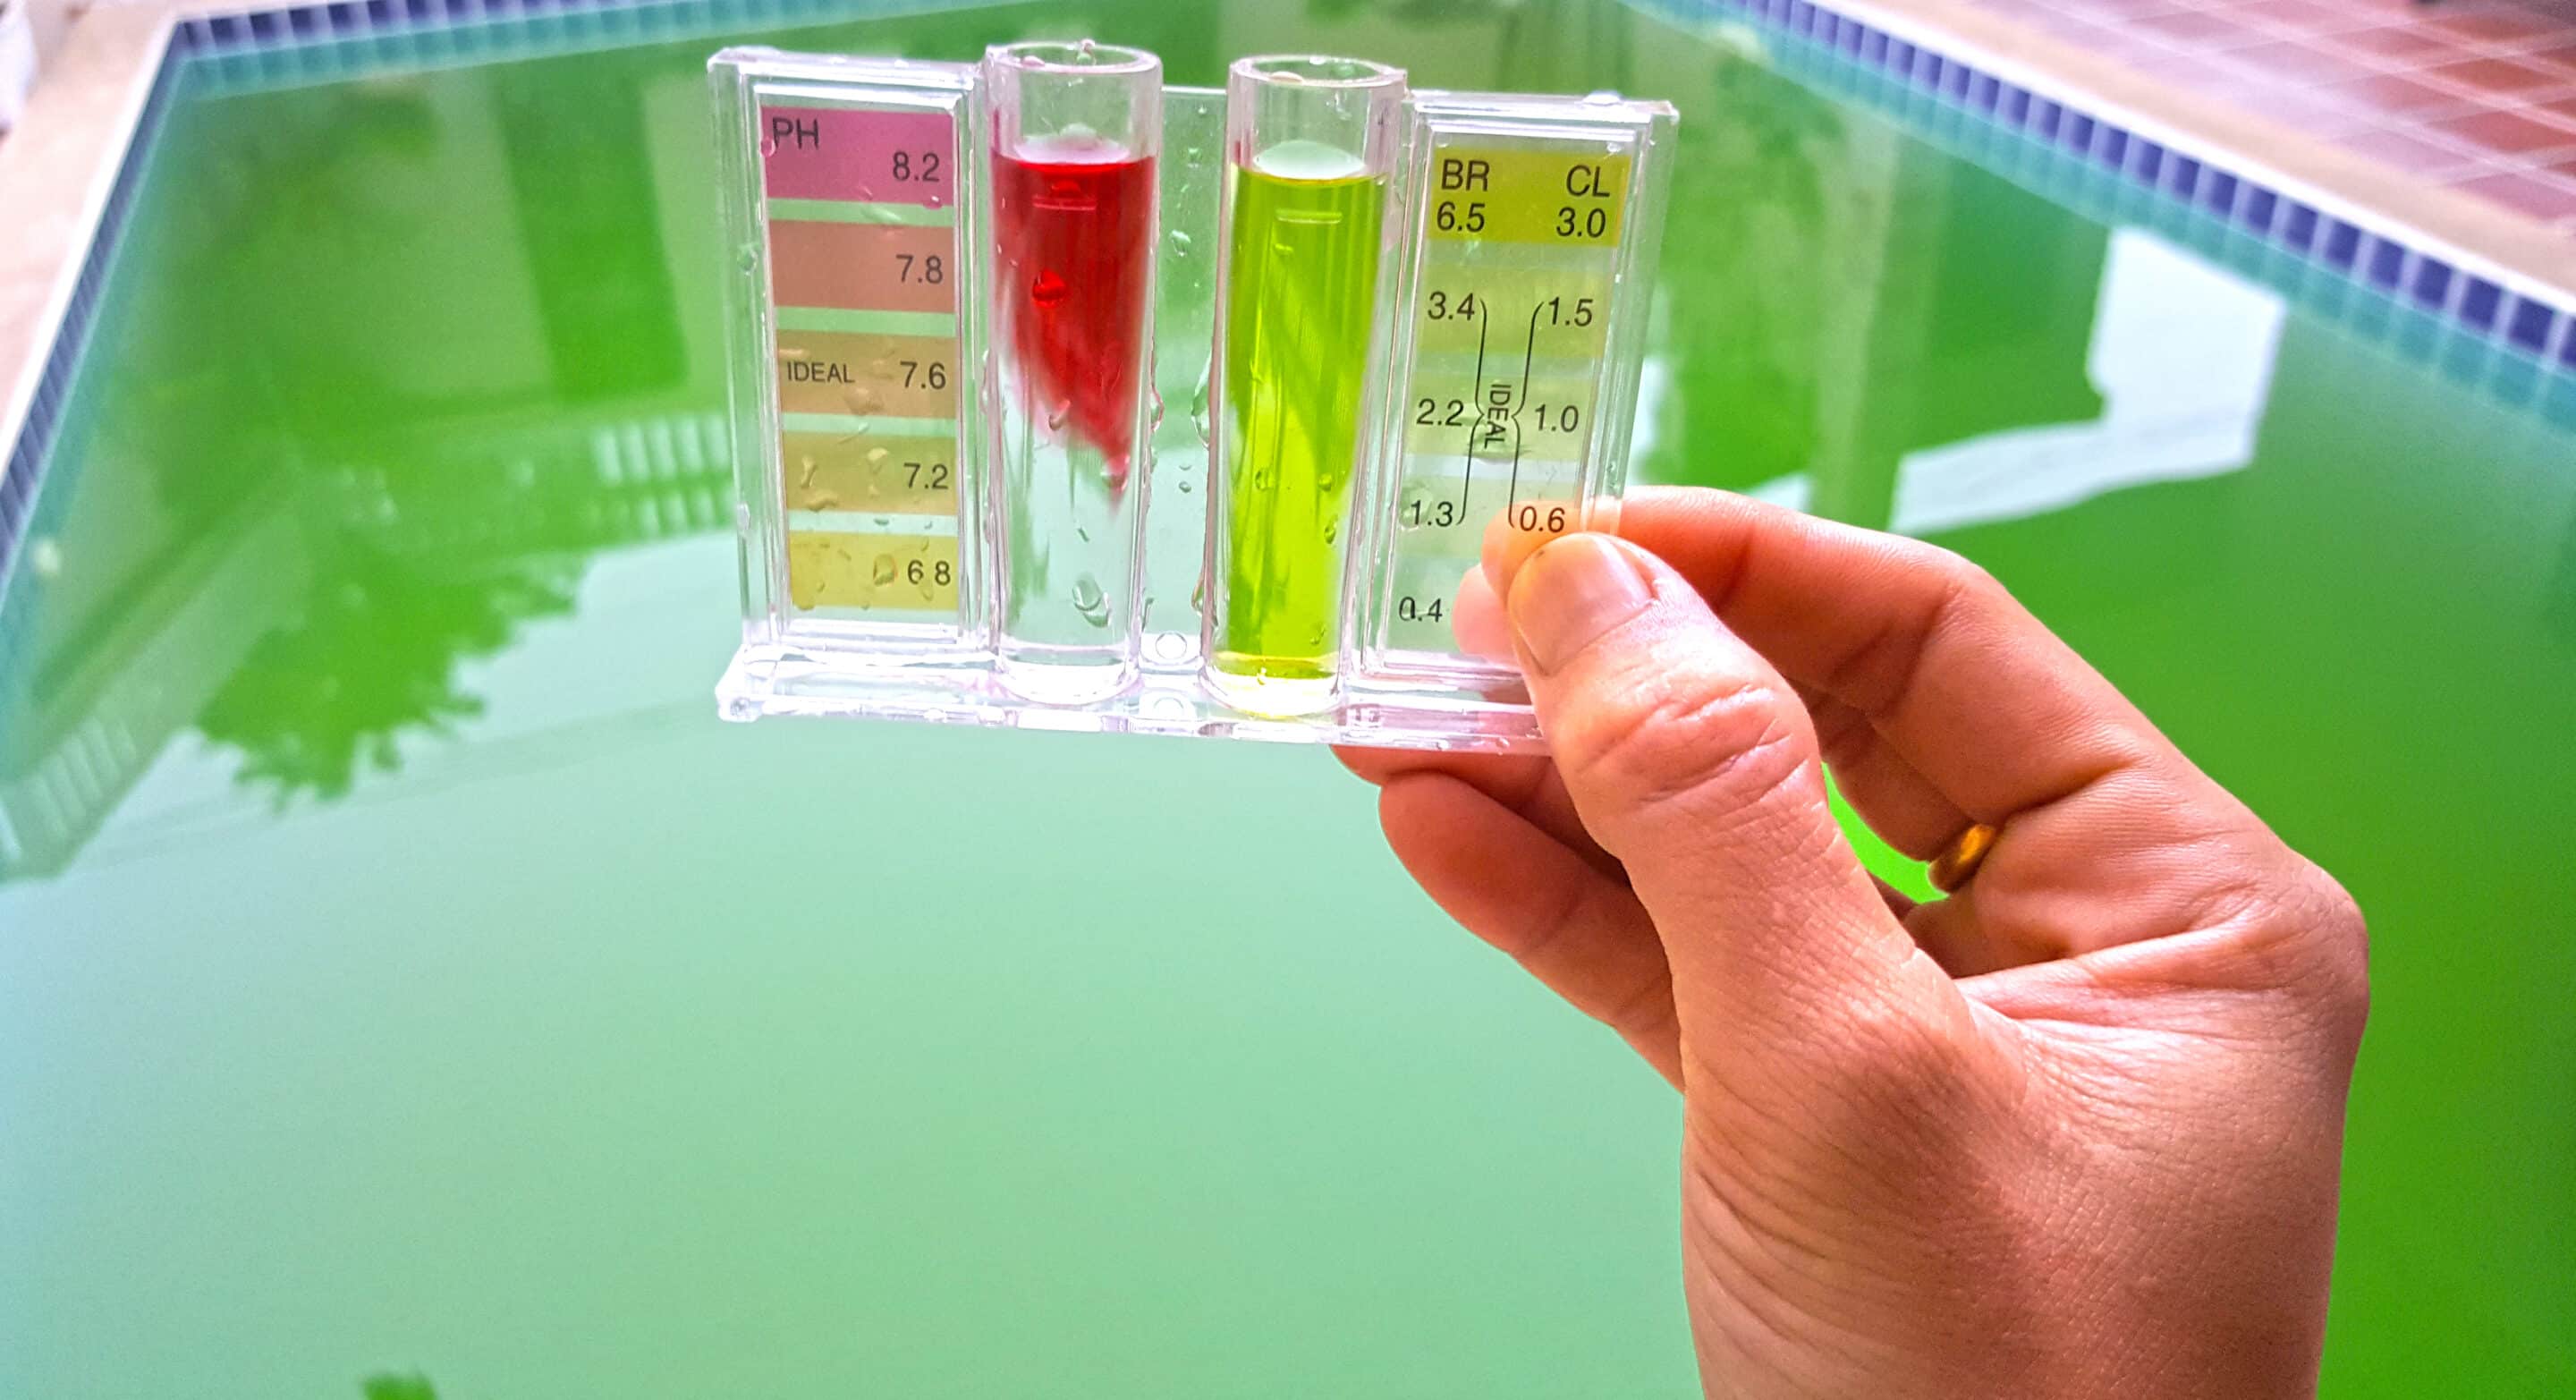
With some simple and easy guidelines, you’ll be well on your way to maintaining your pool’s chemistry. Here’s how to get started:
Step 1: Test the Water
Always ensure the pool pump is turned on before you begin the balancing process. This will help the chemicals disperse throughout the water.
Once the pool pump is on, it’s time to test the water’s total alkalinity or alkaline material. Total alkalinity measures the water’s resistance to changes in pH. In simpler terms, it acts as a buffer, preventing your pool’s pH levels from getting too extreme.
Step 2: Adjust Total Alkalinity
The goal is to achieve a range of 80 to 120 ppm. If it’s higher than that, you’ll need to lower it by adding muriatic acid or sodium bisulphate. If the level is too low, you’ll need to add sodium bicarbonate.
Step 3: Balance pH Levels
The pH level is important for preventing the pool water from damaging any surrounding surfaces. It shows you how acidic or basic the water chemistry is. The goal is to maintain a pH level of 7.4 to 7.6. If your pH level is too high (alkaline), you might see cloudy water and scaling. If it’s too low (acidic), you risk corrosion and skin and eye irritation.
You can adjust the levels by using a pH increaser (sodium carbonate) or a decreaser (sodium bisulphate or muriatic acid). If your tests show that the pH level isn’t steady, this can indicate an imbalance with the total alkalinity level.
Step 4: Check Calcium Hardness
This measurement determines the concentration of calcium ions in your pool water, helping prevent consequences like plaster damage or scaling.
If a white line starts to form along the waterline, there is likely too much calcium in the water. If this isn’t corrected, it will continue to stain the pool and eventually impact the equipment. The correct calcium hardness level you want to achieve is between 200 to 400 ppm.
You’ll need calcium chloride to increase the level. To decrease, drain a portion of the pool water and replace it with fresh water. If the calcium build-up is significant, you may need a pool vacuum to remove any lingering residue.
Step 5: Sanitize with Chlorine
With the foundational aspects of water chemistry addressed, it’s important to remember one of the most critical aspects of pool cleanliness and safety: sanitation. The primary role of sanitizers is to kill and inhibit the growth of harmful microorganisms like bacteria and algae. These unwelcome guests can turn your pool into a breeding ground for illness and unsightly green water.
There are several types of sanitizers, including bromine, biguanide, minerals, chlorine and shocking the pool. The most common is chlorine. The ideal level of chlorine is three ppm; however, this level may need adjustment depending on factors like pool usage, weather conditions, and water temperature.
Shocking the pool is also recommended to help refresh the water. This method adds a highly concentrated dose of chlorine to the pool to rapidly increase the chlorine level in the water. The “shock” helps break down contaminants, control algae and bacteria, and restore balance. Follow the instructions on the chemical’s label carefully when doing this.
Step 6: Check Cyanuric Acid
Cyanuric acid, often referred to as a pool stabilizer or conditioner, plays a vital role in maintaining water quality. It is usually included in the shocking process. Cyanuric acid serves as a shield for your pool’s chlorine, helping prevent the sun’s UV rays from rapidly breaking down the chlorine molecules in your water. Without adequate cyanuric acid, chlorine would dissipate quickly, making it challenging to maintain a consistent sanitizer level. The proper level you want to achieve is 30 to 50 ppm.
Step 7: Measure Total Dissolved Solids
Finally, it’s time to measure the total dissolved solids (TDS) in your pool. TDS refers to all the substances that have dissolved in the water, including but not limited to dirt, algae, minerals, chemicals, and small debris particles. Measuring TDS is important because it provides insights into the overall water quality and helps make informed decisions about when it’s time for corrective action.
The acceptable level is typically near the 1,000 ppm mark and below 2,000. If it’s higher than 2,000, drain and add in fresh water. Generally, high TDS can lead to issues like cloudy water, reduced sanitizer effectiveness, and even damage to pool equipment and surfaces. Additionally, high levels may affect overall pool comfort—it may feel harsh on the skin, irritate the eyes, and or lead to an unpleasant odour.
Pro Tips for Maintaining Balanced Pool Water
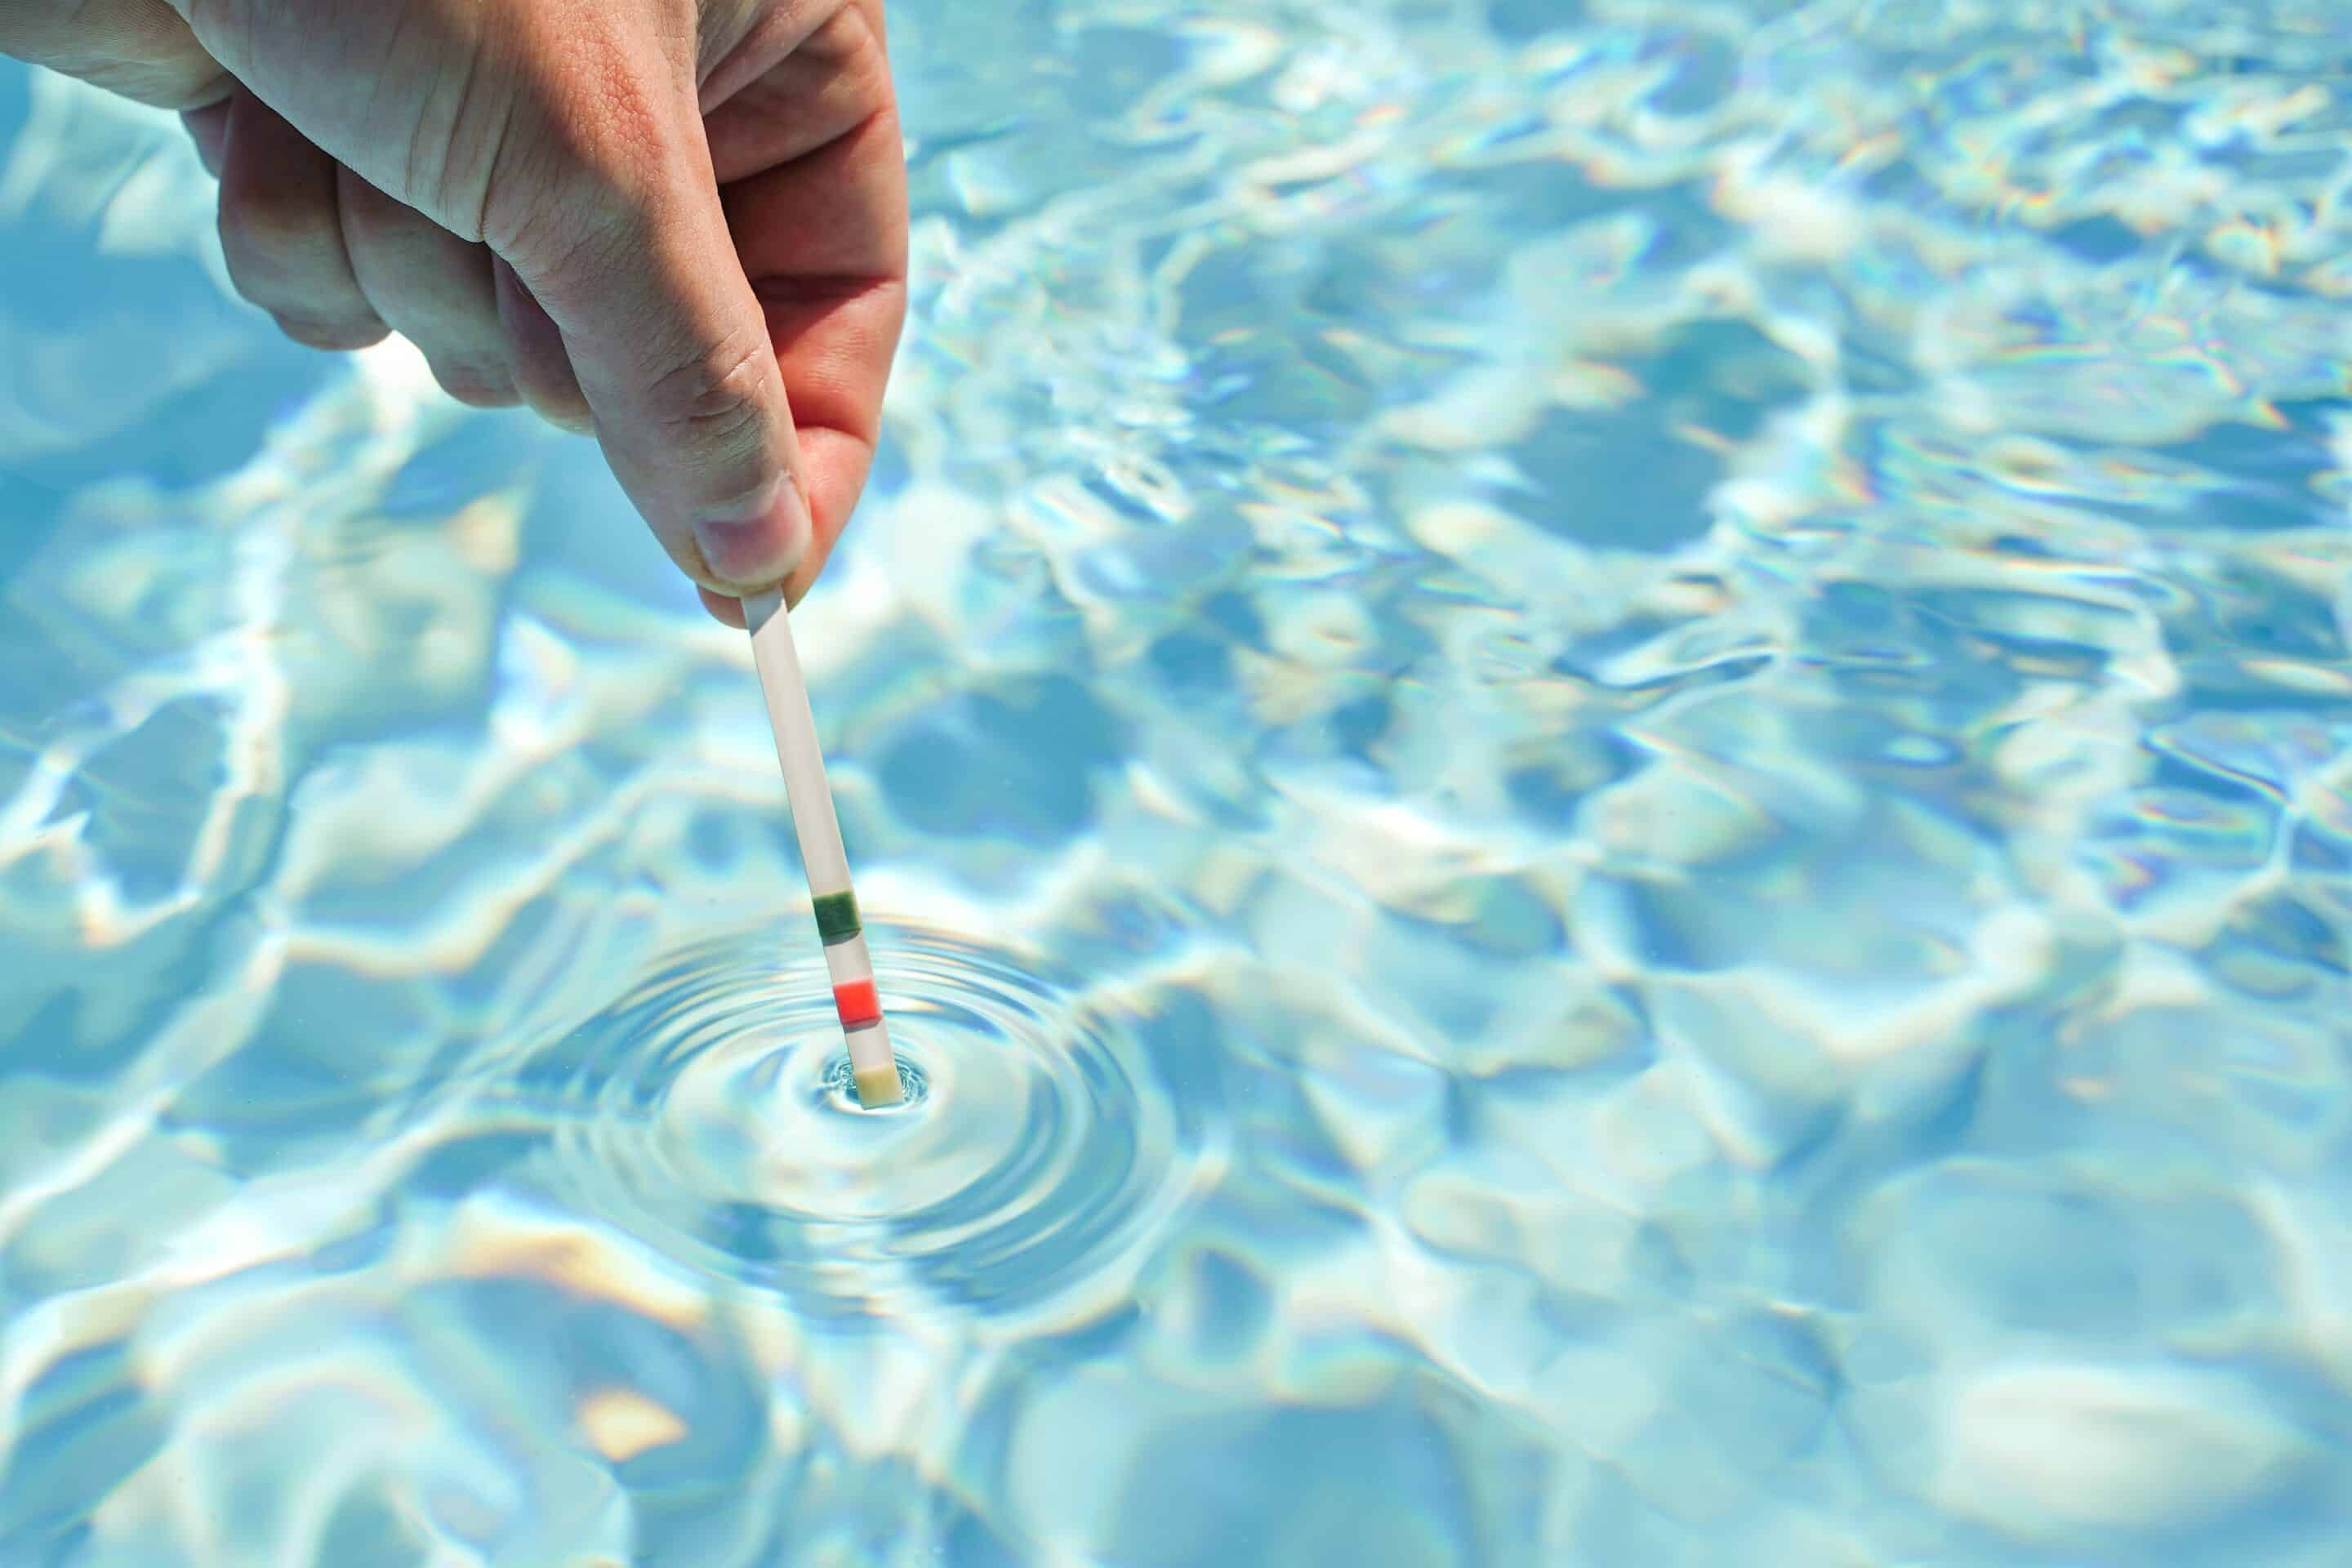
Most of the work in keeping pool chemistry stable comes down to consistency, not expertise. These habits help:
- Keep the pump running at least 8 hours a day through summer. Still water and dead zones are where algae and bacteria get a foothold.
- Add one chemical at a time, never two at once. Let it circulate fully and retest before adding anything else. Shortcuts here often create new imbalances to fix.
- Brush the walls every week, even when the water looks fine. Early algae growth sticks to surfaces long before it shows up in the water.
- Check your skimmer baskets regularly. A blocked basket cuts flow to the pump and leaves sections of the pool sitting stagnant.
- When adjustments stop sticking, something mechanical or structural is usually behind it. A professional water test will get to the root of it faster than continued trial and error.
Frequently Asked Questions
What is the ideal pH balance for a swimming pool?
Target a pH of 7.4 day-to-day, staying within the 7.2 to 7.6 range. That window is close to the natural pH of the human eye, so properly balanced water won’t irritate swimmers. It’s also where chlorine holds its potency – let pH creep above 7.8 and sanitizer efficiency drops off sharply.
Why does my pool water keep going cloudy?
Cloudy water typically points to high pH, low chlorine, or a filter that isn’t keeping up. Rain and heavy swimmer traffic are common triggers. Correct the chemistry first, then assess the filter. A clarifier can speed up clearing the water, but the underlying issue still needs to be addressed.
Can you swim in an unbalanced pool?
Small, temporary fluctuations are unlikely to cause harm. Larger or prolonged imbalances are a different story. Acidic water irritates skin and eyes and corrodes equipment faster than most people realize. On the alkaline side, weakened chlorine means pathogens have more room to survive. When in doubt, test before anyone gets in.
How long should you wait to swim after adding pool chemicals?
For pH adjusters and alkalinity products, 15 to 30 minutes with the pump running is usually enough. After a shock treatment, wait until your chlorine reading comes back down to around 3 ppm. That can take anywhere from 8 to 24 hours, depending on how much you added and how much sun the pool gets. Check the label on whatever product you’re using, and retest rather than guessing.
Pool Balancing With Benson Pools
Maintaining the perfect balance for your pool is essential for a safe and enjoyable swimming experience. It ensures the water remains clear, inviting, and comfortable all season long. However, if the thought of testing, adjusting, and managing pool chemistry feels overwhelming, we have you covered at Benson Pools. We specialize in pool maintenance, and our dedicated team is here to take this task off your hands, leaving you more time to relax and soak up the summer days. Reach out to us today to get started.